
.wp-block-image img {max-width: 100%;}
img {height: auto;}
How to Starch Fabric / Mary Ellen’s Best Press Tutorial is a post from Confessions of a Homeschooler. If you’ve enjoyed this post, be sure to follow Erica on Instagram, Twitter, Facebook, and Pinterest! Also be sure to stop by her Community to join the discussion or her Store to see her latest items!
To Starch or Not To Starch, that’s the question for today! If you have always wondered how and why you starch fabric, today I’m going to share my tips and favorite product for starching fabric, so keep reading!
Watch my Mary Ellen’s Best Press tutorial to see how to starch your fabric!
Should I Starch My Fabric?
The thought of starching fabric might remind you of those super stiff collars on men’s shirts. But quilters use starch too! Starching is a personal preference, and I’ve found that people tend to fall in either the ‘starch everything camp’ or the ‘don’t starch anything camp’. I actually fall somewhere in between. I do not usually starch my fabric unless there’s a specific reason to do so. I starch when I know I will be working with bias seams, or if I am working on a block with small pieces.
Starch can really help your fabric hold its shape, especially if you are cutting on bias seams. That means that your block will turn out more accurate and you will have less distortion of your fabric as it runs through your feed dogs.
The other reason I like to starch is if I am working with small pieces. Small quilt blocks might seem easier to make, but they are actually a bit harder because you have less wiggle room for error! Starching your fabric can keep those tiny pieces from distorting and you will end up with a more accurate block in the end!
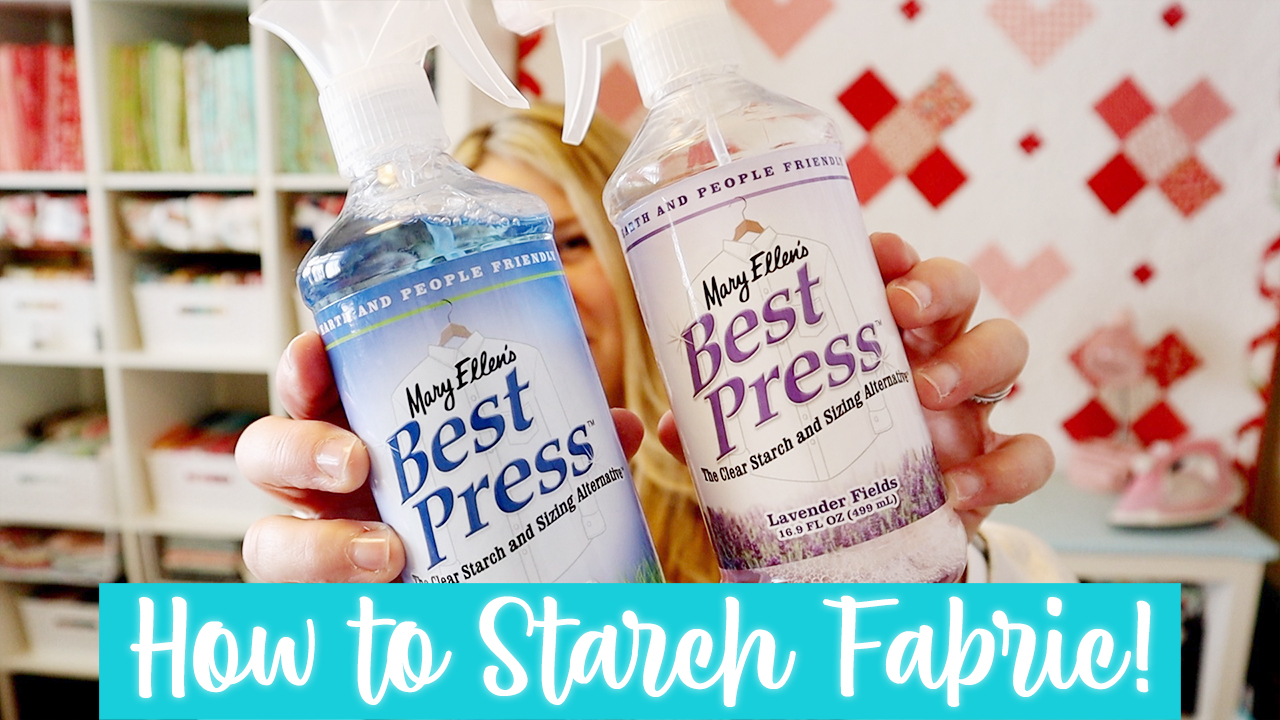
There are a few types of starch, the heavy-duty starch that practically turns your fabric into cardstock, and lighter starch that just gives your fabric some extra body. I prefer Mary Ellen’s Best Press, it is a lighter starch alternative, it doesn’t shrink your fabric, and it smells great! I love the lavender scent, but they have several to choose from. To save money and produce less plastic waste, I purchased one initial spray bottle, and then a refill bottle.
You can purchase fabric starch online, or make your own! Keep reading for a homemade starch recipe below!
A few tips for starching:
- If you’re planning to starch, starch everything. Fabric can behave differently if it has been starched so it is better to starch everything so it is all getting equal treatment. Mary Ellen’s Best Press is a bit more flexible, I have starched just one block before because of bias seams and then put it in a quilt with non-starched blocks and didn’t have any issues.
- Don’t starch then store. If you starch, I recommend using your fabric fairly soon after. I wouldn’t store it long term before using as it can cause the folds to become very difficult to get out!
- Starch BEFORE cutting. Some starches will shrink your fabric by up to 1/2″. It is better to starch it, press it, then cut your pieces so they are accurate. I haven’t noticed any shrinkage when using Mary Ellen’s Best Press.
How Do You Starch Fabric?
Heavy Duty Starch: Completely coat both sides of fabric with starch then hang over a shower rod or towel drying rack overnight, or until dry. I recommend doing this in a bathtub so the starch doesn’t drip on your floor. Once fabric is dry, press well and you’re ready to use your fabric.
Mary Ellen’s Best Press: Generously spray one side of the fabric, then press until dry. Flip fabric over and repeat on the opposite side. Again press until dry and you’re ready to go!
My Favorite Starches
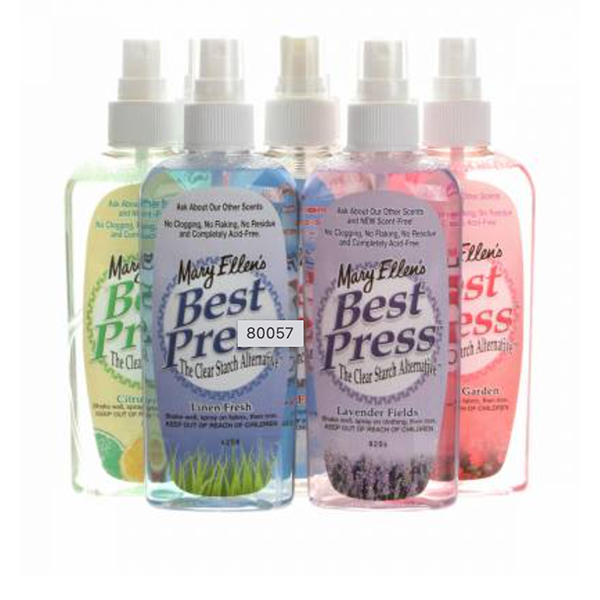
Most Popular: Mary Ellen’s Best Press is my preferred starch. It’s a nice light starch, doesn’t shrink your fabric, and has a built-in stain shield! It comes in a variety of scents too! It is a bit pricey, so to help with that you can mix it with 50% water + 50% of the starch. I also purchase refill bottles to save money and waste.
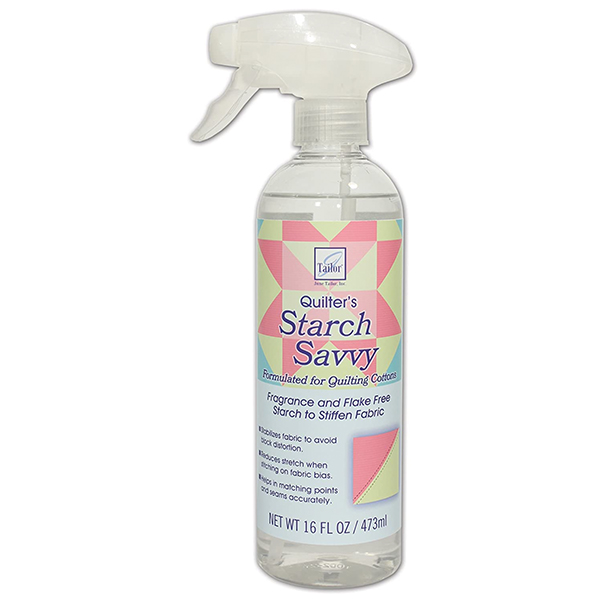
Made for Quilting: June Taylor’s Savvy Starch has a great fragrance and is flake-free. It is made by quilters for quilters and is available almost everywhere.
Most Cost Effective: Homemade starch is definitely less expensive. To be honest, I don’t usually make my own starch, but it’s definitely a more enviormentally friendly and less expensive way to go! Give it a try and let me know what you think!
Homemade Fabric Starch Recipe
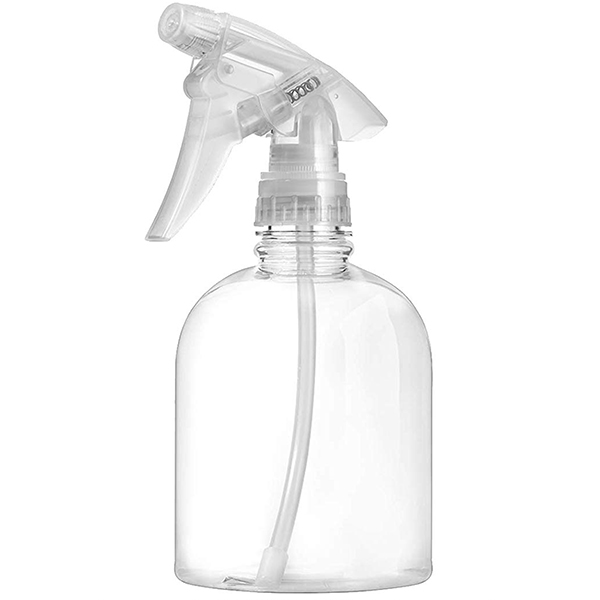
- Spray Bottle
- Cornstarch
- 2 cups boiling Water + 1/4 cup warm tap water
- Directions: Pour 1/4 cup warm tap water into a cup and whisk in cornstarch until dissolved, try to avoid clumps. Once dissolved, add in boiling water. Pour mixture in spray bottle. Shake well before each use. Spray on fabric and press with an iron on medium heat. STORE LEFTOVERS IN REFRIGERATOR to avoid mold.
- Optional: Add 1 drop lavender essential oil to mixture for a nice scent!
Vodka & Water Homemade Starch
- 2/3 cup distilled water Distilled Water
- 1/3 cup Vodka
- Blend well, pur into sptay bottle and use! Shake before each use.
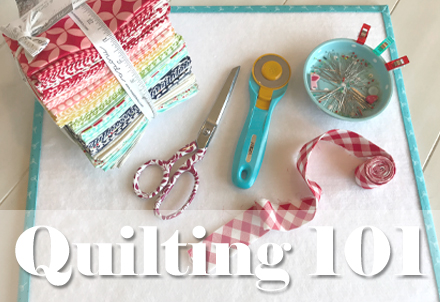
Ready to learn how to quilt? New to quilting? Check out my beginning quilting series!
The post How to Starch Fabric / Mary Ellen’s Best Press Tutorial appeared first on Confessions of a Homeschooler.